Lately I’ve had a particular interest in the MDM (mobile device management) scene where XenMobile (the rebranded Zenprise ) is one of the leaders (Gartner).
I’ve decided to give XenMobile a try and with the help of a contact at Citrix I received a trial license.
Preparation
- Download the installation kit from Citrix.com (you’ll need a Citrix account).
- Get a trial license from Citrix. If you can’t find one, contact me and I will try to put you in touch with my contact at Citrix.
- Bare in mind XenMobile can use both SQL Server and PostgreSQL as a back-end and will by default install the latter.
Installation
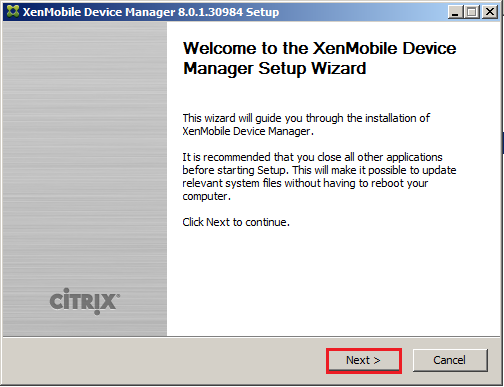
First, make sure you install the latest edition of Java Development Kit, you’ll find it on Oracle.com. Next, start the XenMobile installer, leave the default English as language and click next.
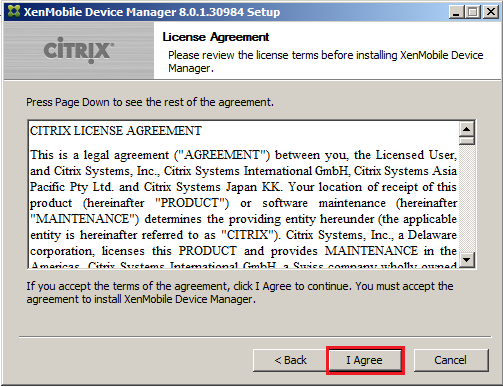
Agree to the license agreement.
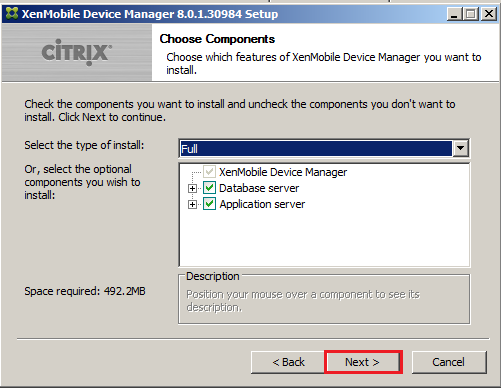
In the Components selection page wizard you have the option of co-locating your Application server with your database server. For the sake of simplicity I installed both on the same machine.
In the choose install location page click next.
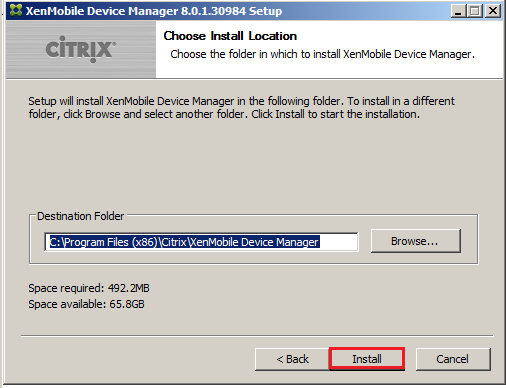
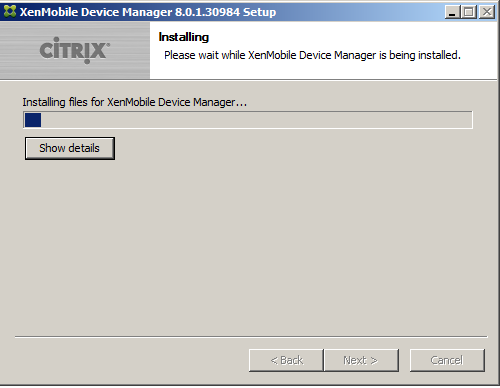
The install wizard will soon start copying files. you’re next step is to install the database server.
Install & configure PostgreSQL
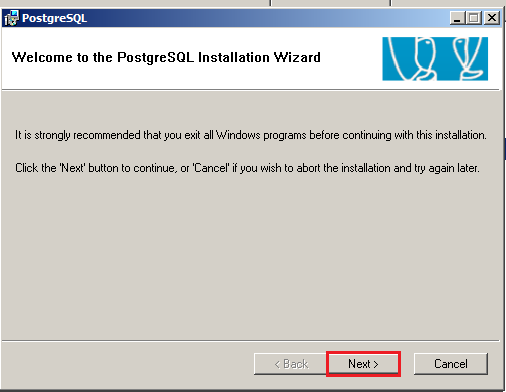
By default, XenMobile will install PostgreSQL as its back-end. The following steps detail the configuration of PostgreSQL for XenMobile.
In the Welcome page click next to advance and again next to skip over the Installation notes.
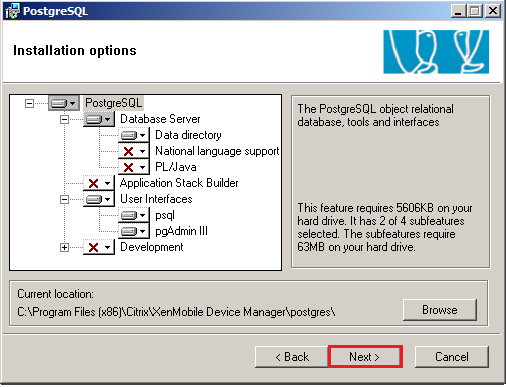
In the Installation options page select the applicable options and click next.
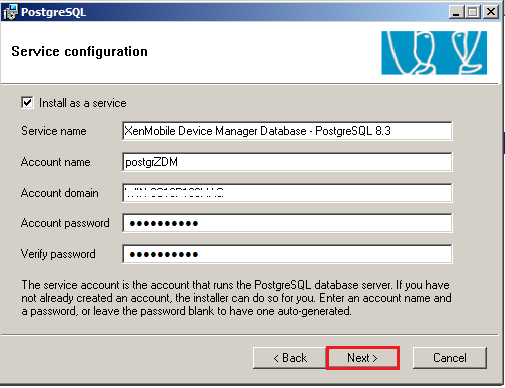
In the service configuration page, configure the account name and password under which the database will run. It will default to postgrZDM but you may change it if you choose so.
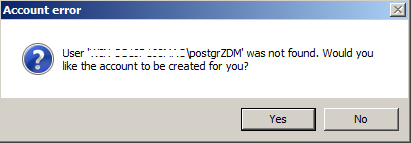
If the account does not exist, you will get the following prompt. Press yes to have the installer create the account.
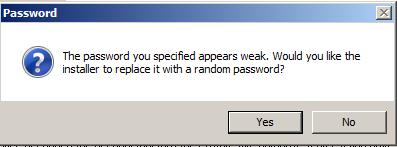
As I am running the installer under a lab environment I used a relatively weak password, be sure to use a strong passwords for production environments.
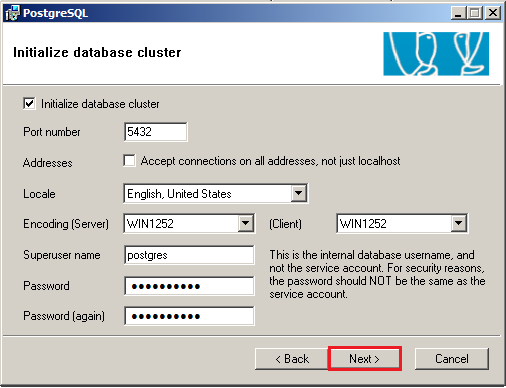
In the initialize database cluster, configure the superuser name and password and press next.
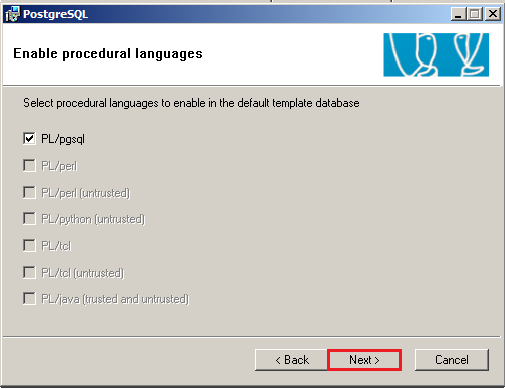
In the procedural languages step, leave the default option and click next.
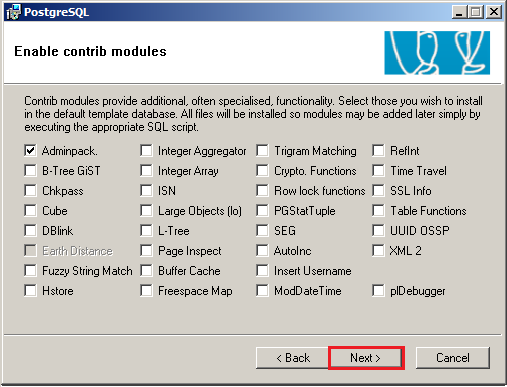
In the contrib modules step, unless you know what you’re doing, leave the default and click next.
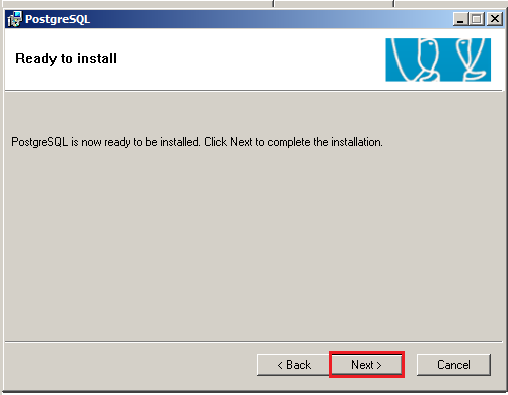
Finally, click next to install.
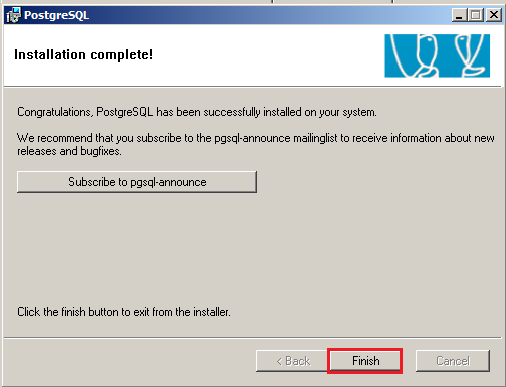
The setup should finish with the following completion message.
Continue XenMobile installation
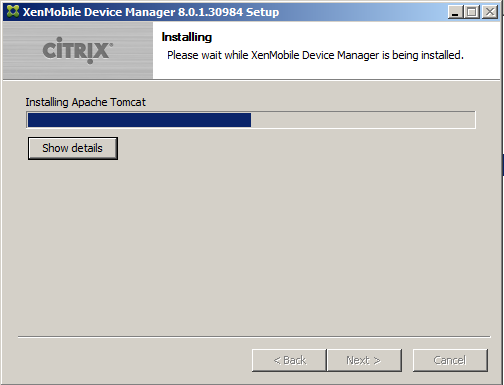
If the PostgreSQL installation finished successfully, the XenMobile installer then continues to install Apache.
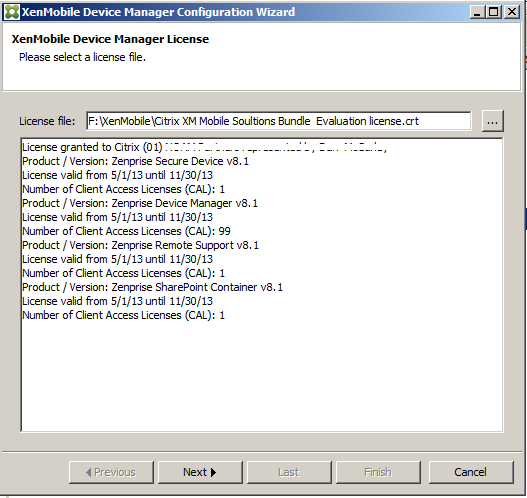
In the next step you will get to select a license file (.crt extension).
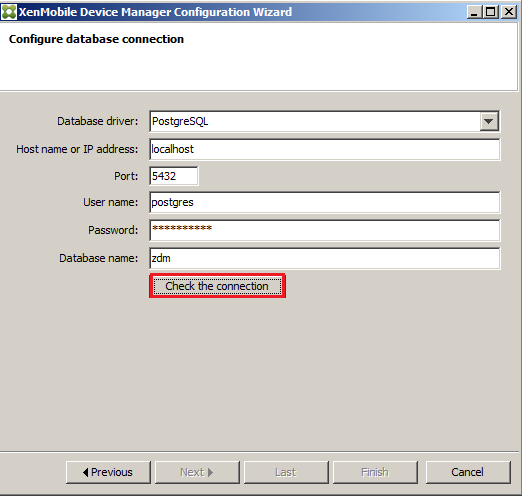
In the next step you are asked to specify the database connection settings. I’ve used the default root account (postgres) as this is a lab environment. In production, you would have to create a separate account and grant it more restrictive permissions.
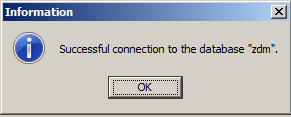
Click check the connection to validate the settings.
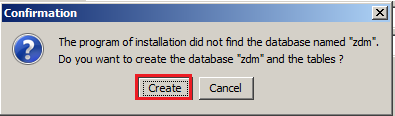
If you haven’t created the zdm database yet, you will get the following prompt. Select create to have the installer create the database.
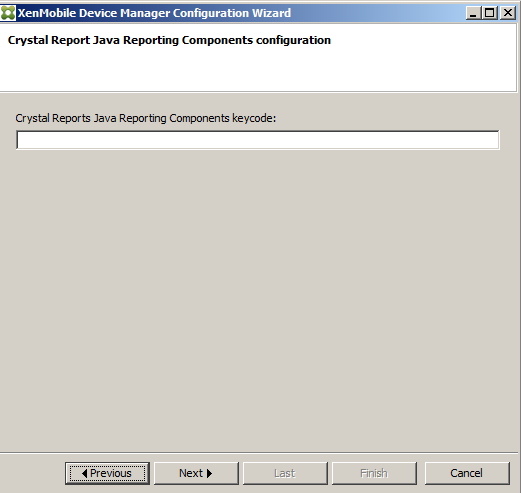
In the Crystal Report configuration page, input your keycode if you have one. Otherwise, the reports generated from XenMobile will contain a little watermark.
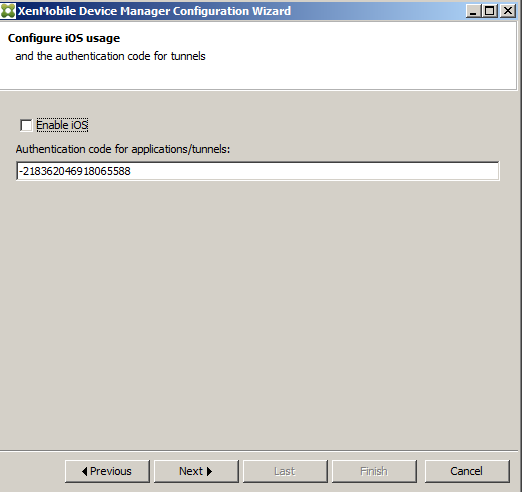
If you are planning to deploy XenMobile to Apple devices check the enable iOS option. Since I would be testing XenMobile on my Android, I didn’t check the option. You will get a few extra steps if you enable this option.
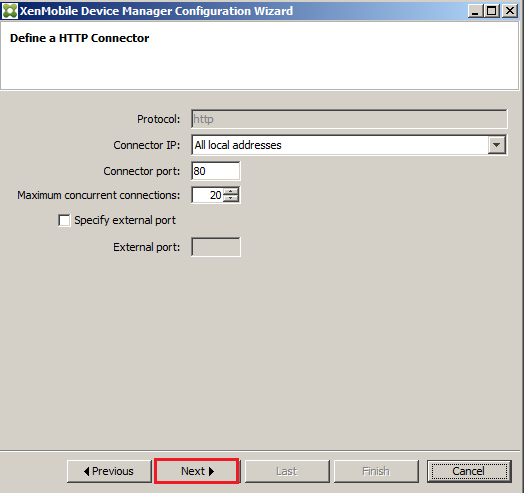
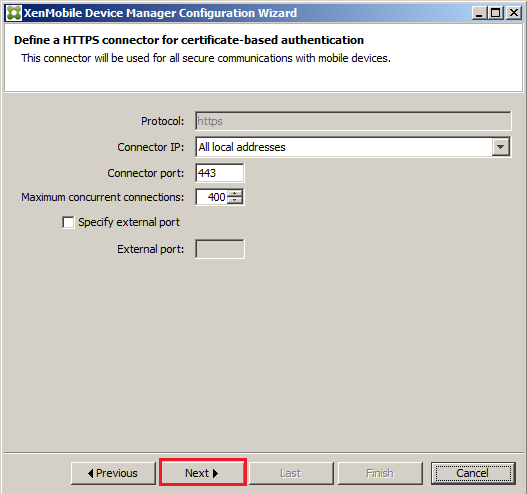
In the Define a http/https connector pages leave the default settings and click next.
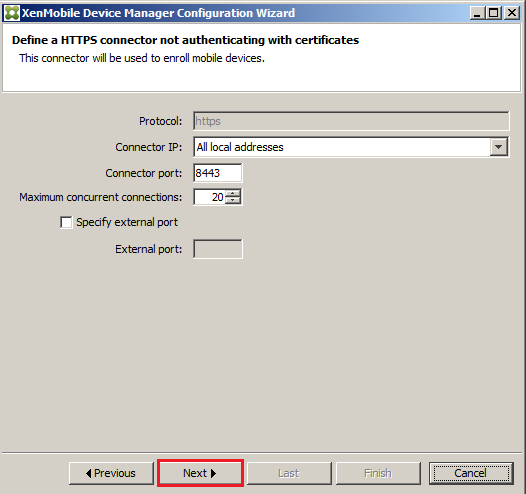
In the next page you are asked to define a https connector for clients not authenticating with certificate. You can leave the defaults and click next.
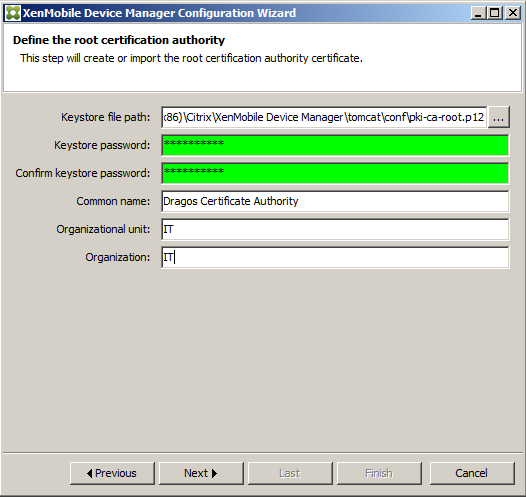
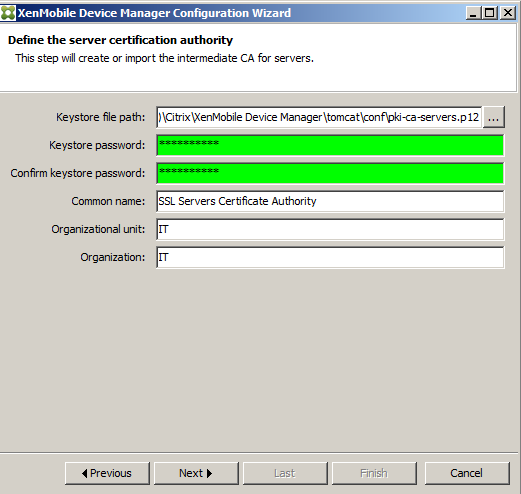
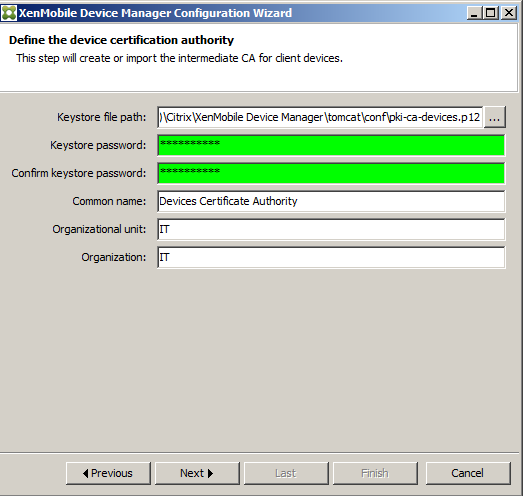
In the next 3 steps you will be asked to define the root, intermediate and device certification authority. As this was a lab environment I selected to create one of each, in a production environment where an existing PKI was present, you would have to export the relevant certificate in PKCS #12 format (.p12 extension) and import them in the following steps.
Root certification authority
Intermediate certificate
Device certificate
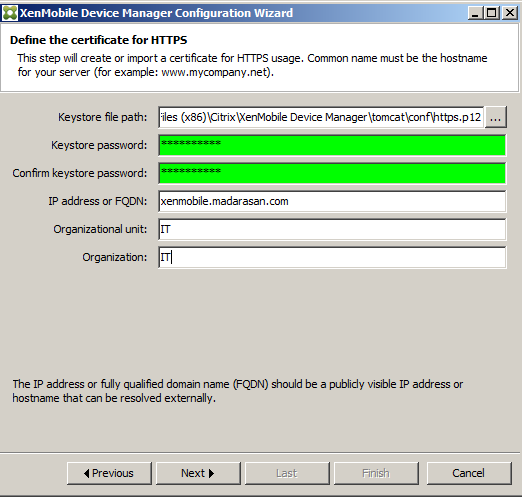
In the define certificate for HTTPS, you are being asked for the fully qualified domain address of the public URL. Again, you can create or import this certificate.
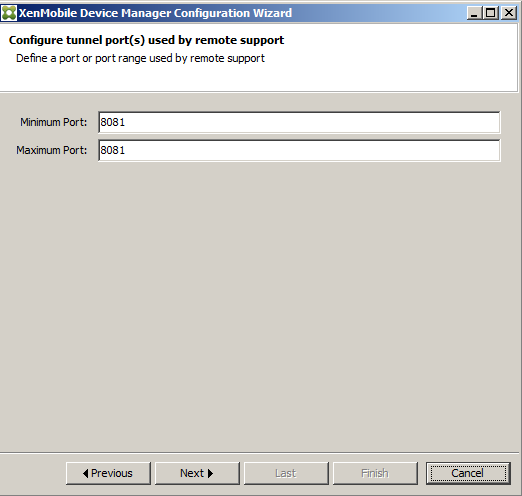
In the configure tunnel ports step leave the default values.
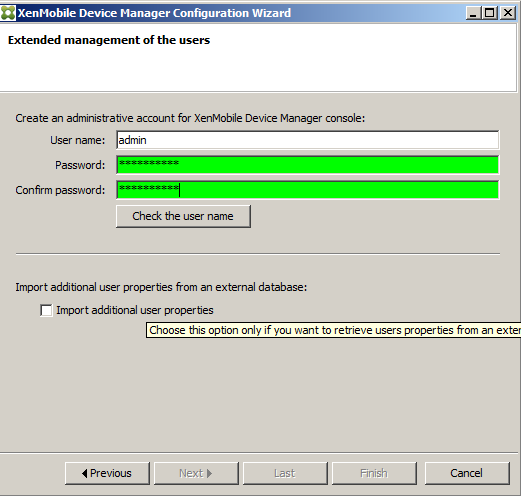
Next you are asked to create the administrative account for the XenMobile console.
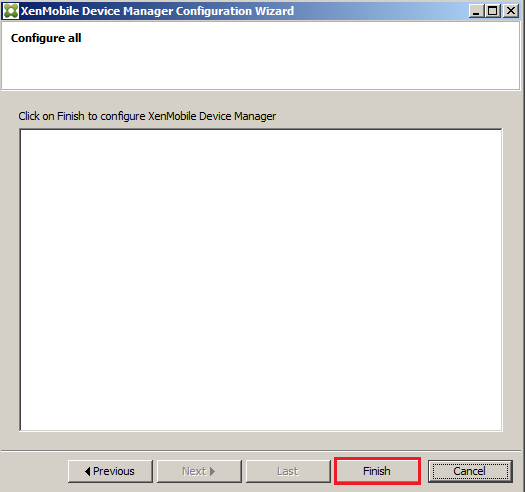
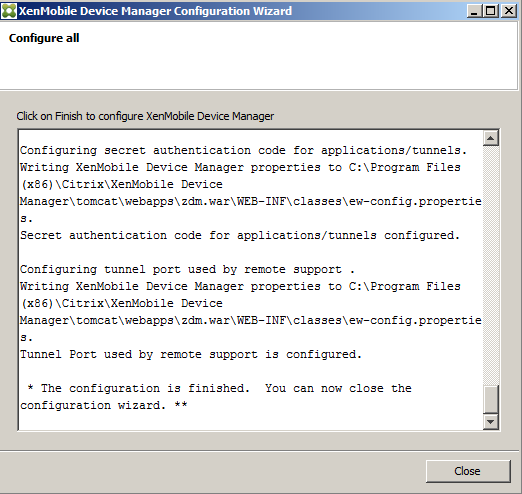
In the final page click on Finish then close once the configuration is finished.
The application server wizard will then finish to install.
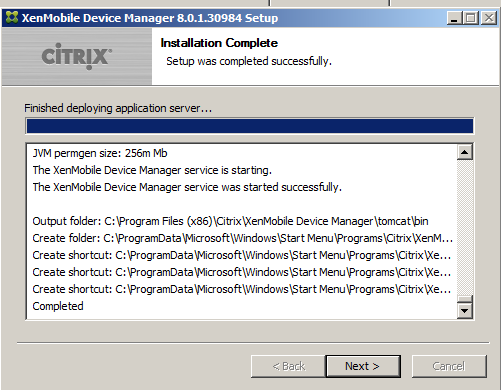
Last but not least, close the XenMobile Device Manager setup wizard.
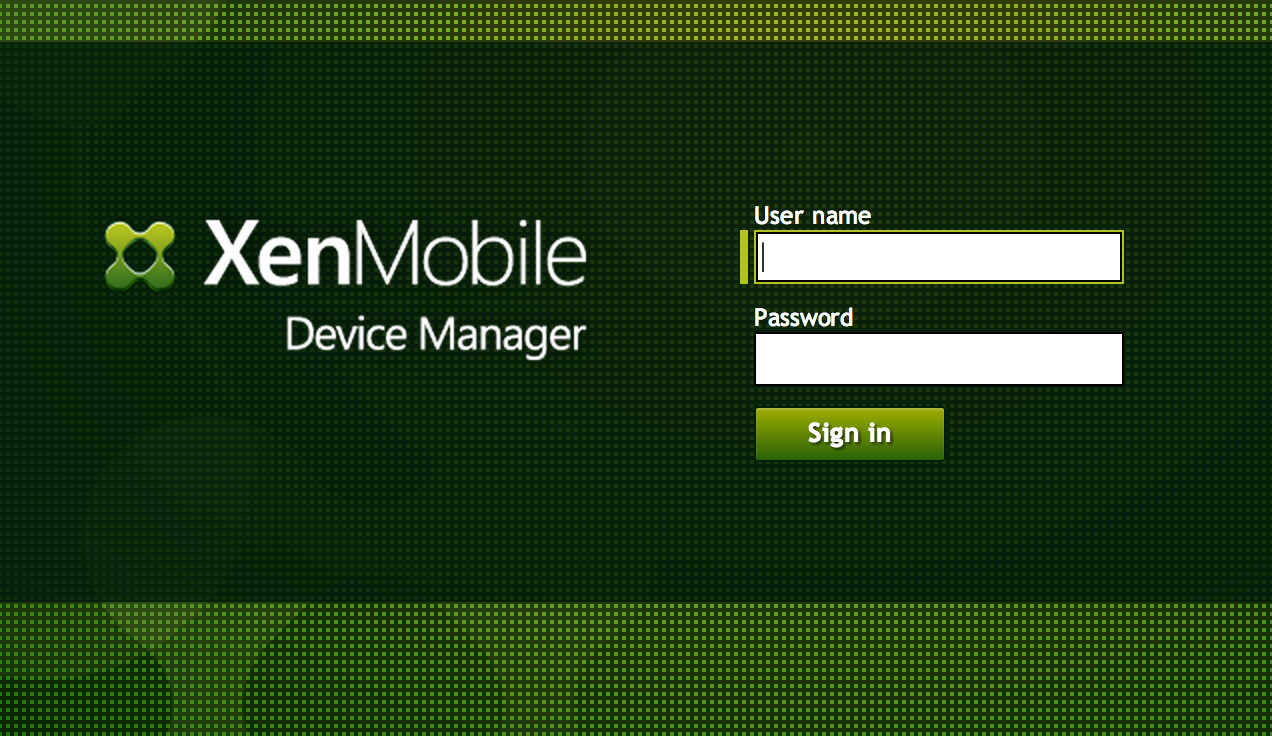
Login to XenMobile
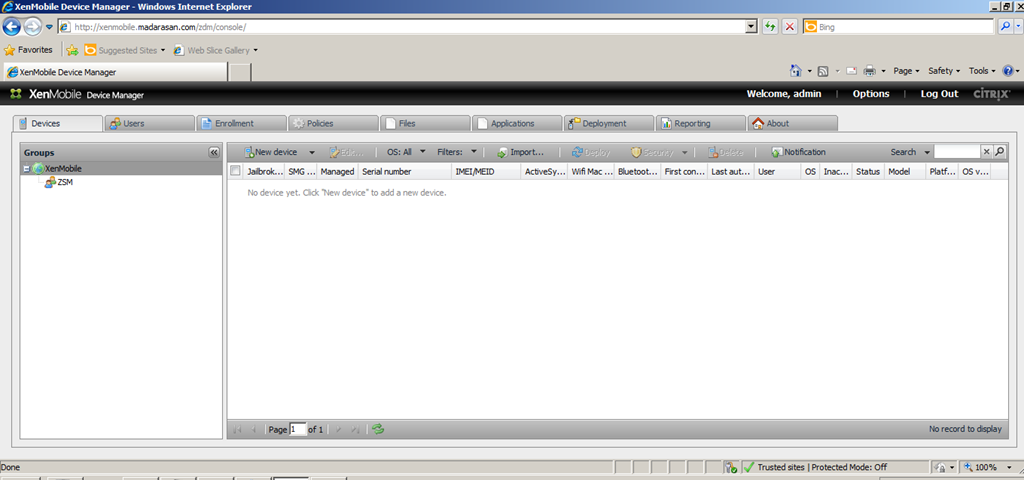
If you are on Server 2008 R2 be sure to add the website to the trusted site lists, otherwise it will not be rendered properly due to Internet Explorer’s default security settings.
Login with the administrative credentials define above.
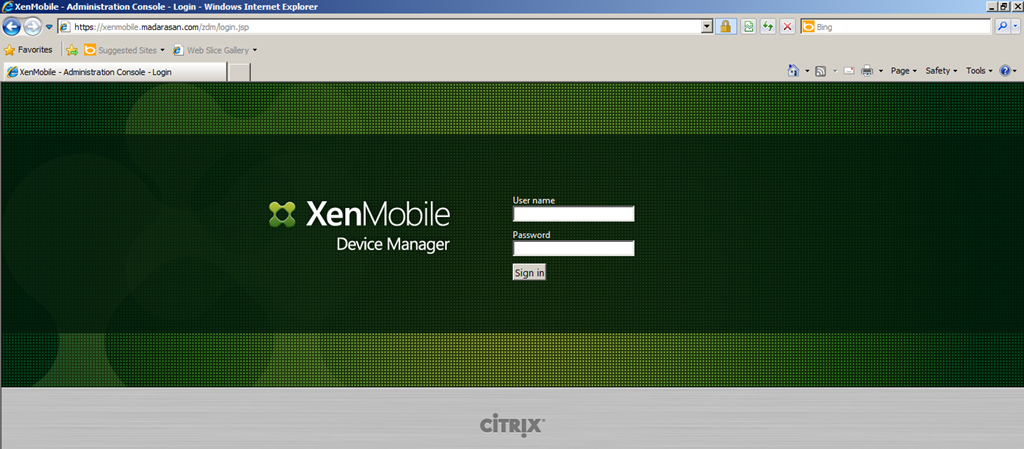
And lo and behold the XenMobile administration console!